
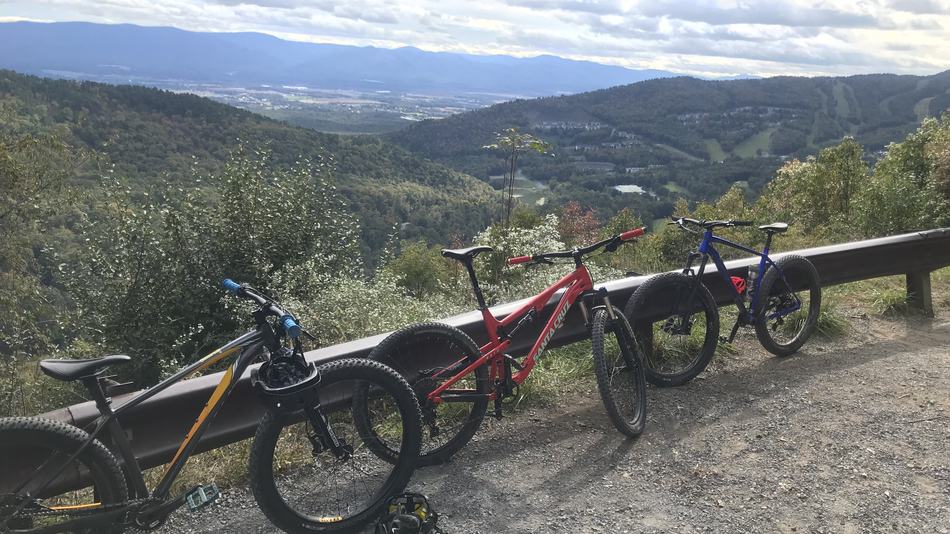
My buddies and I have ridden a wide variety of trails from your basic and easy trail to some pretty gnarly and advanced trails.
So what is and how do you hike a bike? Hike a bike is a skill used by mountain bikers when the terrain becomes to dangerous and I once thought it was a weakness. I now know it is a useful skill to have for riding the harder trails.
Early on in my riding days, I would be constantly pushing myself while out on the trails with my buddies trying everything that I could to prevent myself from having to stop pedaling, hop off the bike and get to hiking.
I would get so frustrated that it would ruin the rides as it would zap all of my energy and depending on where on the trail it happened, absolutely killed my quads. This would in turn ruin some of the funner portions of the trails as my legs would no longer be capable of preloading for different jumps nor would it make for a comfortable landing.
When would you need to hike a bike
There are several reasons why you will find yourself needing to hike a bike while out on the trails. More often then not the issue is going to be caused by tough or step terrain but there is also weather conditions and physical conditioning.
Terrain condition to tough/steep
You will find that there will come a point on trails with greater elevation changes where the trail becomes to steep for you to traverse without your legs feeling like they are going to fall off. It is smart to understand where you are on the trail and how much further you have to go before your next descent.
On some of the more aggressive trails, especially in the more advanced sections, if you loose your momentum you will find your self hike a biking to either a nice flat section or at least to a more manageable section to get rolling again.
We ran into this issue when ridding the trails at Reddish Knob. Even after shuttling to the top of the trail we found several climbs mixed into the descent. The problem was that with the extremely rocky terrain we found ourselves taking incorrect lines where the wheels seemed to find every possible situation to get jammed up.
This in turn led us to a barrage of stop and start bursts of riding until we cleared that section of the trail.
Weather conditions
If its not tough, gnarly or steep terrain, the other hike a bike situation you can find yourself is due to weather. When we were on our Spring mountain bike and camping excursion we ran into an issue where mother nature really tested us.
We set out fairly early from our campsite that morning. It ended up being a pretty awesome day with a few minor exceptions as we rode 18 miles of trails making a full loop back to our campsite. Most of the ride felt great but when we hit the trail Farlow’s gap there was a slight drizzle in the air as well as some damp conditions due to the rain the night before.
There were clearly some sections that we would have been hike a biking regardless of the weather but on some of the other sections it was even harder to hike a bike due to sliding around on the clay between the different rock sections. There were several instances where Jason and/or I ended up on our tails due to the slippery conditions.
Physical conditioning
This is the main reasoning behind my instances of hike a biking. With living on the east coast, most of the daily rides have been on much more mellow inclines. The problem here is a combination of things.
First, depending on the grade of the elevation, one could find themselves pedaling forever in order to get to the main portion of the trail that you came to ride. For example, we rode the Massanutten Western Slope trails and pedaled 45 minutes to make it only 2.5 miles from the parking lot to the Massanutten Resort Overlook.

While the oldest guy in the crew managed to just keep pedaling up, Jason and I found our selves taking various short breaks up to the top. We were bound and determined to get to the top without stopping but it wasn’t meant to be. We both used the side push in order to use the bike to give our tired legs a bit of a break.
Different ways to carry the bike.
So I must confess, my go to technique is the Side Push but I have used the shouldering technique a time or two before. While researching the topic for this article I found that there was another technique I decided to test out around the house.
Side Push
This is my go to. More often than not, when we get to a section where we need to hike a bike the footing is also a little treacherous. This technique allows you to use your bike as a bit of a brace for stability. You can place the bike in certain positions while traversing larger drops or creek crossings.
The other use for this technique is even on fire roads when your legs or lungs need a break. This helps you get a break with out having to expend too much additional energy like you would if you were pulling it up on your shoulder or even on your back.
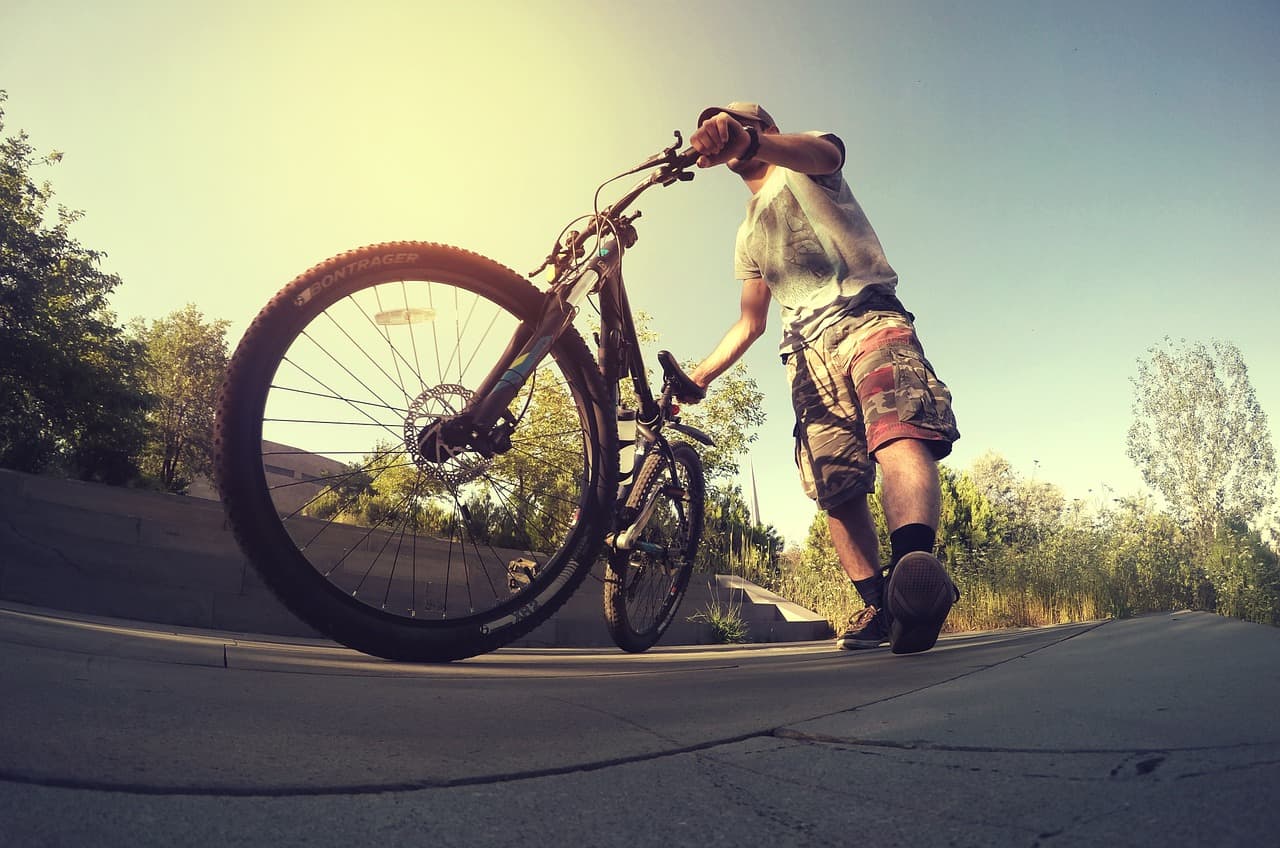
Your body is not having to expend too much energy if you’re just leaning up against the bike and it also gives your body a bit of a break you’re able to stretch her legs, give your butt a rest while also being able to catch your breath etc. This is also very good technique for individuals who may experience back pain, specially lower back pain as you won’t be lifting the weight.
You also wont have to worry about positioning the bike properly for support as you would when you’re caring it either on their shoulder or even on your back. There is however the potential for there still be some back strain depending on where the bike place is in regards to pushing the bike itself.
For example if you’re using the bike in an effort to stay stable yourself as walking through different features there is the potential for the bike to move and cause some strain in lower back. Same thing goes if you’re pushing the bike in a weird angle.
The key here is to listen to your body, if you feel like you need to take a break because pushing the bike is affecting the rest your body then take a break. Take a opportunity to grab a snack, grab some water re-focus and then when you feel up to it get that going again.
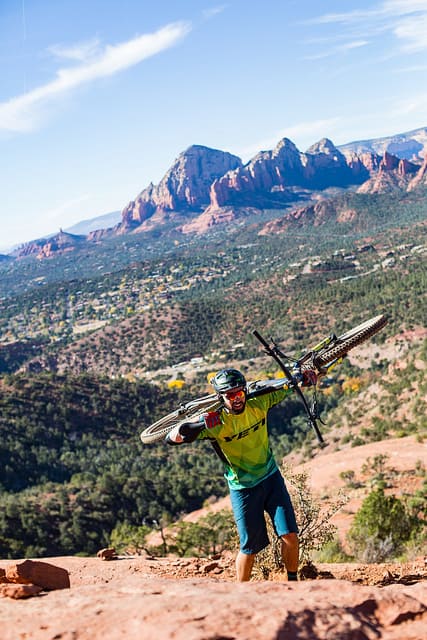
Shouldering your bike
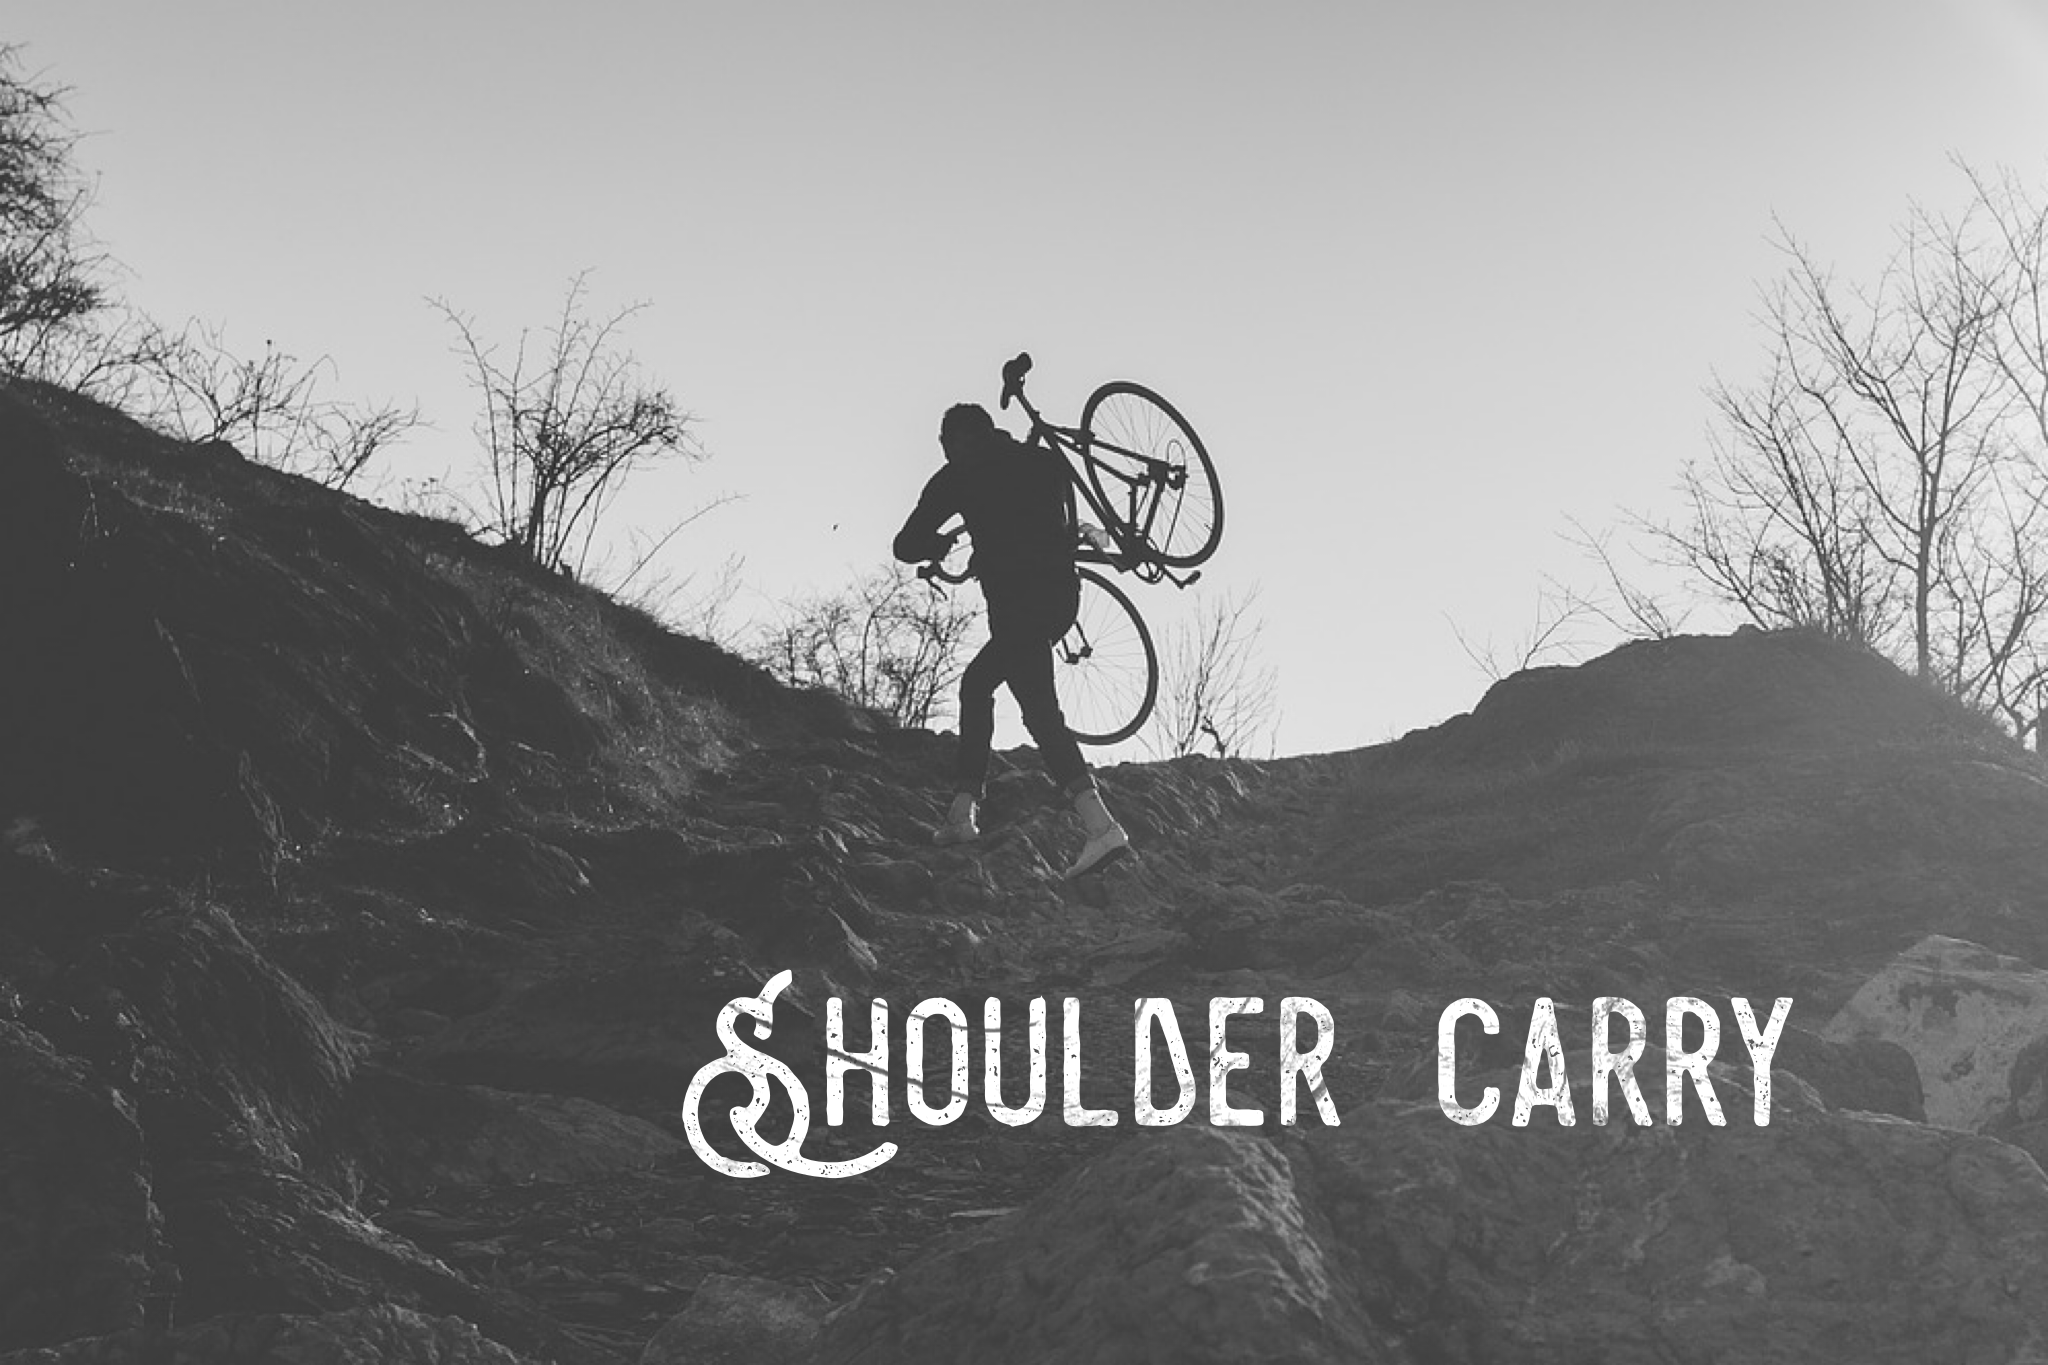
This is another technique that I’ve seen being used out on the trails. The is the technique where you position the bike on your shoulder and proceed up the trail traversing the portion you can’t ride. The key is to position it properly so that you’re not having to focus too much on the bike being on your shoulder and become distracted.
You will need to grab the top tube with your right hand in order to lift the bike up to and rest it on your shoulder. You will be using your right hand because you will want to lift the bike on the non drive side. This eliminates issues with getting grease from the chain on you as well as getting you clothes caught up in the chain ring.
The final part of this technique is to wrap your arm around the head tube and grasping the handle bar. This allows the rider to control the front of the bike especially when trying to navigate through tighter terrain.
One of the problems I find in using this technique is simply having to balance the weight of the bike. I tend to find myself leaning more to my left because I’ve got the bike on my right-hand side and find it puts a lot of strain on my lower back.
The other thing with this is comfort, depending on where you put the bike on your shoulder could cause some discomfort. If you have a backpack on while riding you could more than likely rest the bike on the strap. You will also want to ensure you position the left crank arm properly in order to ensure its not digging into the side or back of the rider.
On your back
This is a fairly new technique I came across while researching for this article. It’s not one that I’ve used on the trail but today I tried it at the house just to see what it’s all about. With this one, part of the technique is the positioning of the crank arm in the mid section of you back.
The key here is trying to practicing before you get on the trail as you don’t want to end up hurting yourself when trying to lift the bike. Similarly to the method of carrying it on your shoulder, if you have a weaker back than others this may not be an option for you. Last thing you would want to do is strain your bike out on the trail and not be able to finish the ride.
The motion is similar to that of carrying the bike on your shoulder but a few steps are added. After the bike is on your shoulder, you will want to swing the bike onto your back. From here you will grab the seat post to help steady the bike. Try to do this in one motion allowing the momentum of the process to do most of the work.
This technique takes some practice to ensure that you are fully confident in being able to pick up the bike without hurting yourself. Again, it would really suck if your try this out on the trail, hurt your back and become unable to finish the ride. There is still somewhat of a balance issue with having to find your balance point because of the weight of the bike which could still put some strain on your lower back.
Carrying on the back of your neck
One final technique is carrying the bike on the back of your neck. This is another one that I have only tried at home but might use on my next hike a bike section of trail.
Start off by standing on the non drive side of the bike and grab the chain stay. This is the bar that runs from the crank arm to the rear axle. To do this you will need to lower yourself in a squatting motion and grab the front fork.
In one smooth motion, come out of the squatting position and as you stand lift the bike over your head. After the helmet is cleared rotate to bike horizontally and rest the down tube on the back of your neck or on the top of your backpack.
Recommended gear for proper hike a biking
There are several backpacks that lend themselves to being useful for the hike a bike on your back or on your shoulder. Depending on the time of year will also change which backpack/hydration system to bring on your ride with you.
During the winter and fall months when you might need room for the extra clothing you may be shedding off, you could use 2-3L Live infinitely hydration pack on Amazon Prime or pay a little more for an Osprey Pack and you will get the benefit of free repairs to defects or damage no matter what the cause. That’s a pretty good deal.
One of the coolest new tools to use when hike a biking has to be the PeakRider. Designed by Marvin Kiesel out of Germany to solve the problem he had where he was dismantling his bike far to often due to the rugged and steep terrain in South Germany.
You can find out more on their site PeakRider.